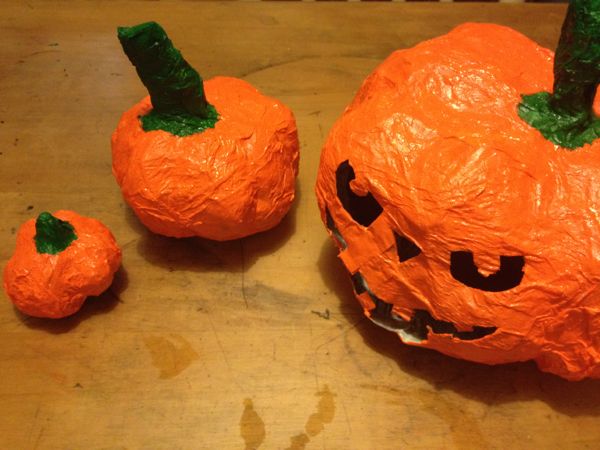
Tomorrow is Halloween and I am excited to show you some of the bits I have been making, especially my paper mache pumpkins.
I like to do things on the cheap, and I guesstimated that a pumpkin was going to cost me around $12.00 – too much for me. So I looked at how to make one and thanks to Scott at: scott@stolloween.com I found the easiest, cheapest and most awesome way to make a pumpkin.
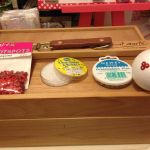
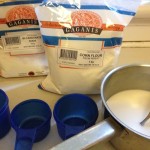
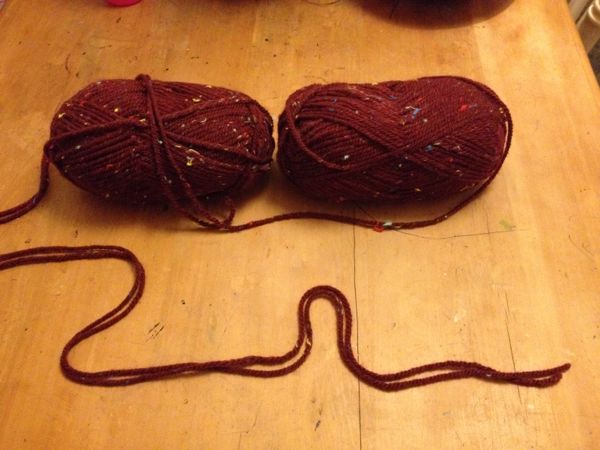
All you need is:
• plastic bag
• news paper
• flour and water glue *
• string
• green & orange paint
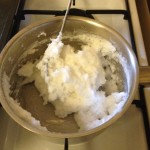
* To make glue, I use 2 cups of plain flour and 5 cups of water. Stir over low heat until glue consistency. Let cool and then use. This recipe makes heaps, but it will keep in the fridge for a week.
Here goes …
-
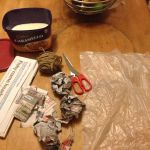
- Ingredients.
-
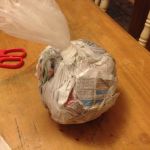
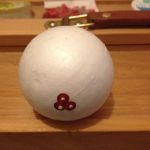
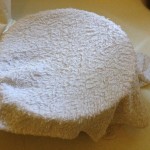
- Fill plastic bag with newspaper.
-
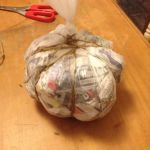
- Tie string around bag to give shape.
-
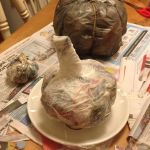
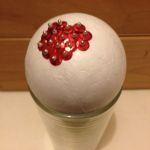
- Paper mache bag.
-
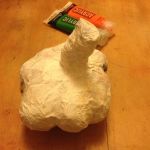
- Wait a couple of days until dry.
-
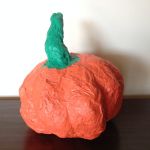
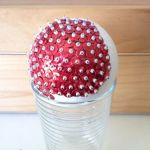
- Paint.
Here are some other easy and cheap Halloween ideas …
-
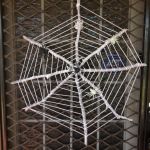
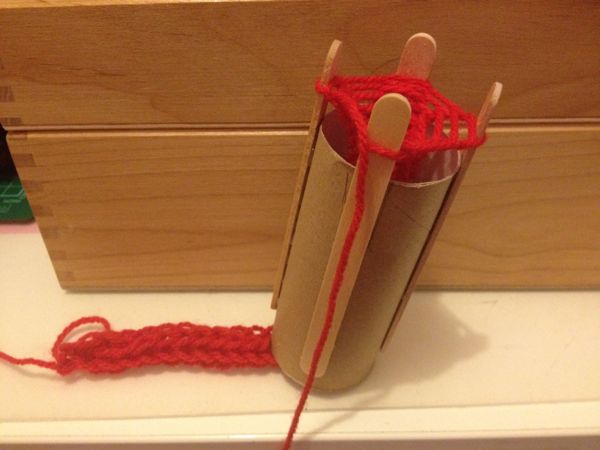
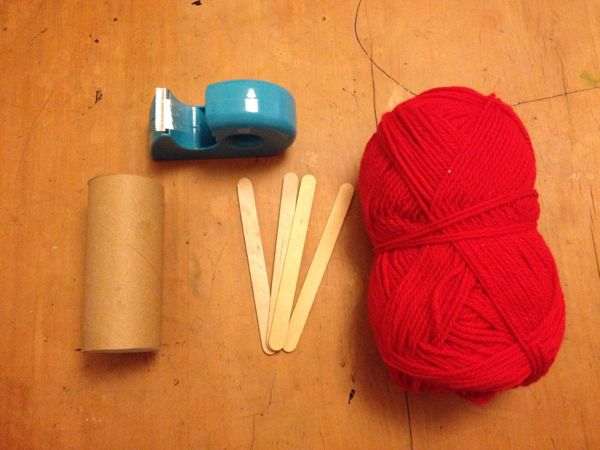
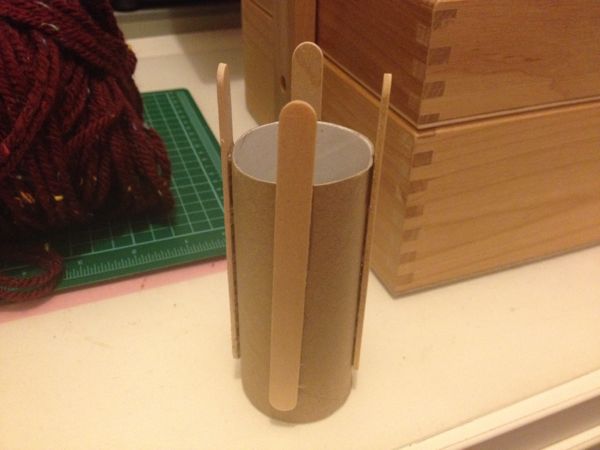
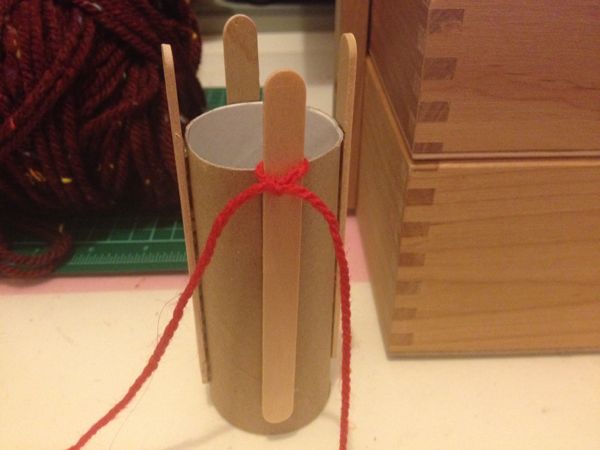
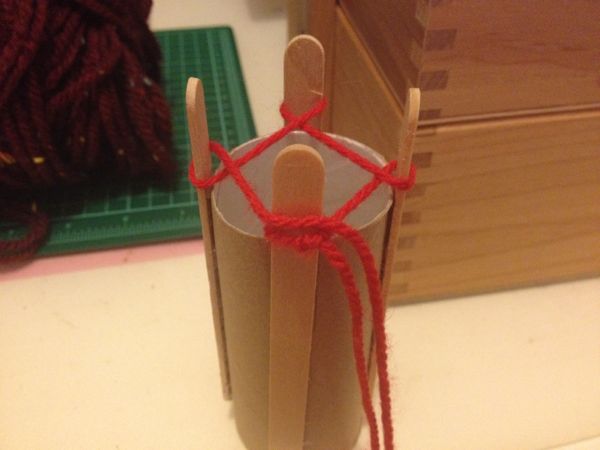
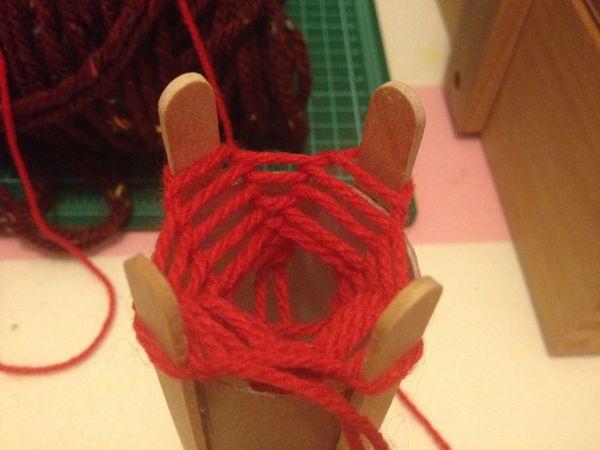
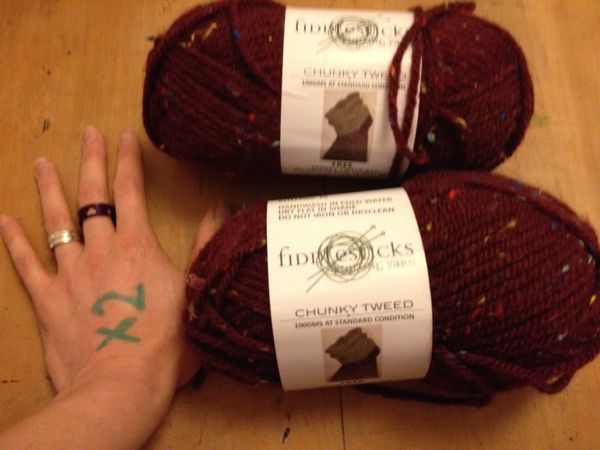
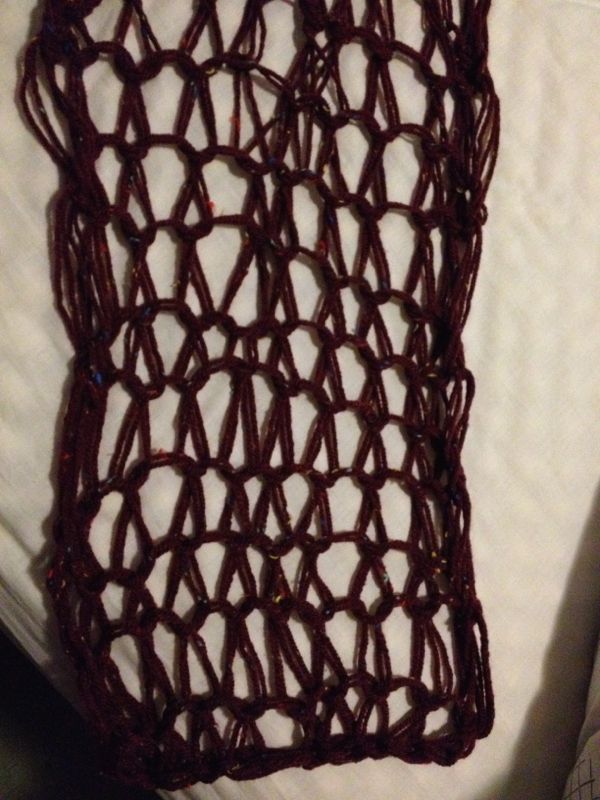
- Painted sticks, wool and spiders.
-

- Painted milk cartons.
-

- So life like.
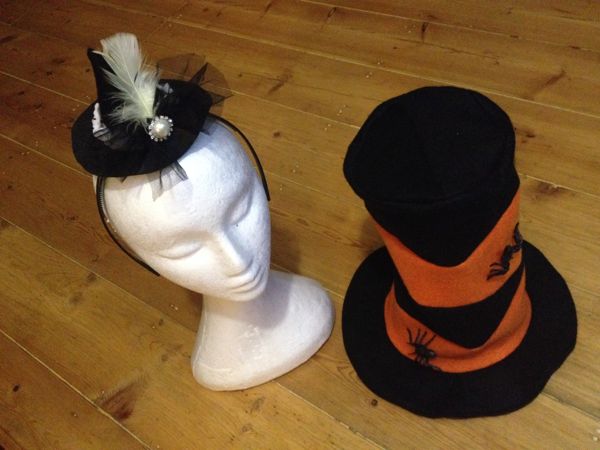
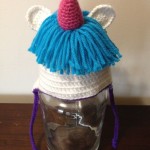
Last minute hats …